Gardenia flowers, known for their exquisite beauty and captivating fragrance, have become a popular subject for artists seeking to capture nature’s elegance on paper. Learning how to draw gardenia flowers not only allows you to express your creativity but also enables you to appreciate the intricate details and delicate charm of these blossoms. In this article, homegardenartful will guide you through the steps and techniques to create stunning gardenia drawings that radiate lifelike beauty.
Drawing gardenia flowers holds a special significance in the world of art. These blossoms, with their velvety petals and rich symbolism, evoke emotions of love, purity, and joy. By mastering the art of drawing gardenias, you can convey these sentiments in your artwork and evoke a sense of serenity and tranquility in the viewer’s eyes.
To embark on this artistic journey, we will cover a range of techniques and tips to ensure your gardenia drawings truly come to life. Starting from gathering the necessary art supplies, we will explore the best pencils, paper, and erasers to enhance your creative process. By selecting the right colors for shading and highlights, you will be able to add depth and dimension to your gardenia drawings.
Moving on, we will dive into the step-by-step process of drawing gardenias. From sketching the basic outline to adding intricate details, such as petals, leaves, and stems, we will explore techniques to achieve realistic textures. With the play of light and shadow, you will learn how to create a three-dimensional effect that makes your gardenia drawings truly captivating.
Moreover, I will provide you with valuable tips and tricks to take your gardenia drawings to the next level. By using reference images and observing real-life gardenias, you can infuse your artwork with authenticity and accuracy. Experimenting with different perspectives, compositions, and artistic styles will allow you to develop your unique artistic voice and create gardenia drawings that reflect your personal flair.
Drawing gardenias may seem daunting at first, but with practice and perseverance, you will unlock the secrets to capturing the essence of these blossoms. So, grab your art supplies and let’s embark on a journey through the mesmerizing world of gardenia drawings. Get ready to immerse yourself in the delicate beauty and timeless charm of these magnificent flowers. Let’s begin our artistic adventure together!
Understanding Gardenia Flowers

Description and Characteristics of Gardenia Flowers
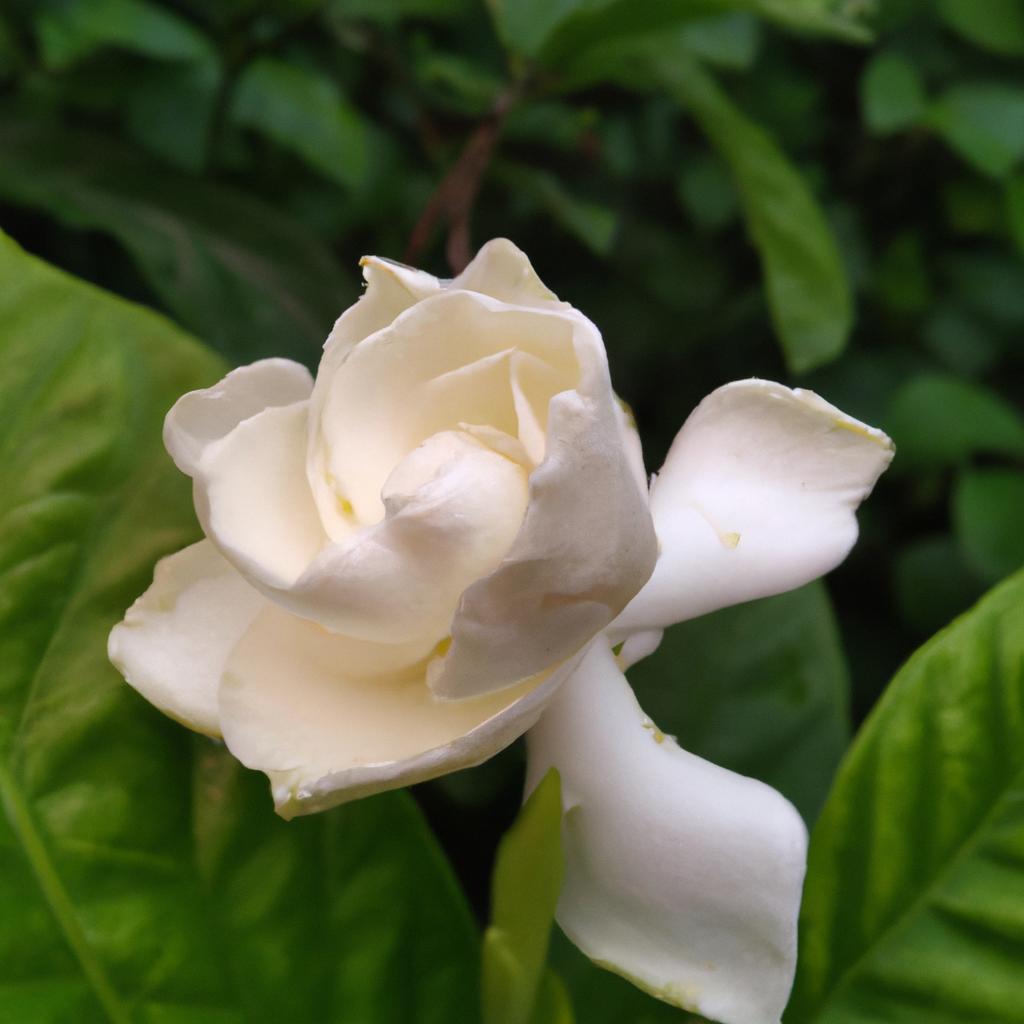
Gardenia flowers, with their elegant and velvety petals, are known for their mesmerizing beauty. These blossoms typically have a creamy white color, emitting a sweet and intoxicating fragrance that fills the air. Gardenias are characterized by their large, showy blooms and glossy, dark green leaves, which provide a striking contrast to the delicate white petals.
Different Varieties and Colors of Gardenias
While white is the most common color for gardenias, these flowers also come in various hues, including shades of yellow and pink. Gardenia varieties such as ‘Augusta,’ ‘Kleim’s Hardy,’ and ‘Veitchii’ exhibit slight variations in petal shape, size, and coloration, offering artists a range of options to explore in their drawings. By understanding the different gardenia varieties, you can add diversity and visual interest to your artwork.
Symbolism and Cultural Significance of Gardenia Flowers
Gardenias hold significant symbolism in many cultures and traditions. These blooms are often associated with love, purity, and spirituality. In some cultures, they represent secret love and convey messages of affection. Additionally, gardenias are used in various religious ceremonies, symbolizing devotion and purity of the soul.
Understanding the symbolism and cultural significance of gardenia flowers can add depth and meaning to your drawings. By incorporating these symbolic elements into your artwork, you can evoke emotions and connect with viewers on a deeper level. Gardenias not only captivate the eye but also touch the heart with their profound symbolism.
You may also like: Garden Decor Ideas with Rocks: Enhancing Your Outdoor Oasis
Gathering the Necessary Art Supplies

A. Essential Art Supplies for Drawing Gardenias
Before diving into the enchanting world of gardenia drawings, it’s crucial to gather the necessary art supplies. Here’s a comprehensive list of essential tools you’ll need to bring your artistic vision to life:
- Pencils: Opt for a range of graphite pencils, such as 2H, HB, and 2B, to create varying shades and textures in your gardenia drawings. These pencils offer different levels of hardness, allowing you to achieve precise lines and soft shading.
- Paper: Choose a high-quality drawing paper with a smooth surface to ensure optimal results. Acid-free and heavyweight papers are ideal for preventing yellowing and wrinkling over time. Consider using textured paper if you want to add a unique touch to your gardenia drawings.
- Erasers: Have a kneaded eraser on hand for gentle corrections and blending. A white vinyl eraser can be useful for erasing larger areas or creating highlights in your artwork.
- Blending Tools: Use blending stumps or tortillons to smooth out graphite shading and achieve seamless transitions between different tones. These tools allow you to create realistic textures in the petals and leaves of your gardenia drawings.
B. Recommendations for Pencils, Paper, and Erasers
While personal preferences may vary, here are some recommendations to help you choose the right tools for your gardenia drawings:
- Pencils: Brands like Staedtler, Faber-Castell, and Derwent offer high-quality pencils suitable for botanical drawings. Experiment with different brands and find the ones that feel comfortable in your hand and produce the desired results.
- Paper: Look for drawing papers specifically designed for pencil or graphite work, such as Strathmore Bristol or Canson Drawing Paper. These papers provide a smooth surface that allows for precise detailing and shading.
- Erasers: A kneaded eraser, like the one from Prismacolor or Faber-Castell, can be molded into various shapes, making it versatile for erasing and blending. For white vinyl erasers, consider brands like Tombow or Pentel for their effectiveness in removing graphite.
C. Selecting Colors for Shading and Highlights
While gardenias are typically white, adding subtle shades and highlights can bring depth and realism to your drawings. When selecting colors for shading and highlights, keep the following tips in mind:
- Shading: Use shades of gray, such as cool grays or warm grays, to add depth and volume to your gardenia drawings. Experiment with different tones to create realistic shadows and contours.
- Highlights: For highlighting, opt for light shades of cream or pale yellow. These colors mimic the natural highlights found on the petals and enhance the three-dimensional effect of your artwork.
Remember, the choice of art supplies is a personal journey. Explore different brands, test various materials, and let your creativity guide you. With the right tools in your arsenal, you’ll be well-prepared to embark on the mesmerizing world of drawing gardenias.
Step-by-Step Guide to Drawing Gardenias
A. Sketching the Basic Outline of the Gardenia Flower
To begin your gardenia drawing, start by sketching a basic outline of the flower. Use light, gentle strokes to capture the overall shape and proportions of the gardenia. Pay attention to the curves and contours of the petals, as well as the placement of the center and any surrounding leaves or stems.
B. Adding Detailed Features such as Petals, Leaves, and Stems
Once you have the basic outline, it’s time to add more intricate details to your gardenia drawing. Carefully observe the reference image or real-life gardenia and slowly add the individual petals, leaves, and stems. Take note of the shape, size, and arrangement of these elements, as they contribute to the overall realism of your artwork.
C. Techniques for Achieving Realistic Texture and Depth
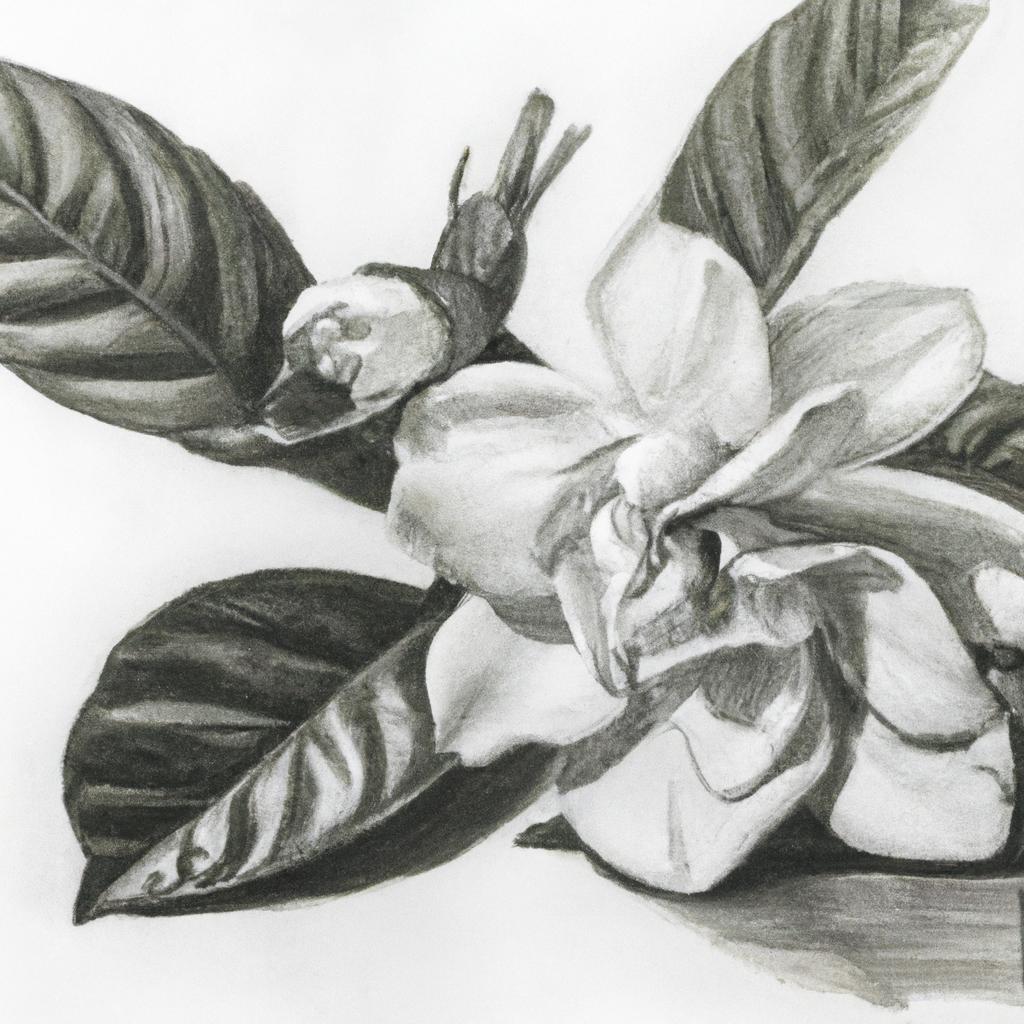
To make your gardenia drawing truly come alive, focus on achieving realistic texture and depth. Use a combination of shading techniques, such as cross-hatching and stippling, to create the illusion of light and shadow. Pay close attention to the subtle variations in color and value on the petals, leaves, and stems, as this will add dimension to your artwork.
D. Highlighting and Shading to Create a Three-Dimensional Effect
Highlighting and shading are crucial for creating a three-dimensional effect in your gardenia drawing. Use a lighter shade or white pencil to add highlights on the areas where light hits the flower, such as the petals’ edges or the top surfaces. Gradually build up layers of shading with darker pencils to define the shadowed areas and create depth.
E. Adding Finishing Touches and Refining the Drawing
As you near completion, take a step back to evaluate your gardenia drawing. Add any final details or adjustments to refine the overall composition and ensure accuracy. Pay close attention to the small intricacies, such as the texture of the petals and the veins on the leaves, to create a polished and realistic representation of the gardenia.
Remember, practice makes perfect. Don’t be discouraged if your first attempts don’t meet your expectations. With time, patience, and dedication, you will develop the skills needed to create breathtaking gardenia drawings that truly capture the essence of these exquisite flowers. So, grab your pencils and let your creativity bloom as you embark on this step-by-step guide to drawing gardenias.
Tips and Tricks for Enhancing Your Gardenia Drawings
A. Using reference images and observing real-life gardenias
To truly capture the essence of gardenia flowers in your drawings, using reference images and observing real-life gardenias can be immensely helpful. Study photographs or paintings of gardenias to understand their unique characteristics, such as the shape of the petals, the arrangement of the leaves, and the overall structure of the flower. By closely examining these references, you can ensure that your drawings reflect the intricate details that make gardenias so captivating.
B. Experimenting with different perspectives and compositions
Don’t limit yourself to drawing gardenias from just one angle or perspective. Experiment with different viewpoints and compositions to add variety and interest to your artwork. Try drawing a gardenia from a top-down perspective, capturing the full bloom and the arrangement of the petals. Alternatively, you can focus on a close-up view, highlighting the intricate details of a single petal or the delicate stamen. By exploring different perspectives and compositions, you can breathe life into your gardenia drawings and create unique and visually engaging artwork.
C. Incorporating different artistic styles or techniques
Unleash your creativity by incorporating different artistic styles or techniques into your gardenia drawings. Experiment with various approaches, such as realism, impressionism, or even abstract interpretations. Each style brings a unique perspective and can evoke different emotions in the viewer. You can also explore different techniques, such as stippling, cross-hatching, or blending, to add texture and depth to your drawings. By embracing different artistic styles and techniques, you can create gardenia drawings that reflect your individuality and artistic vision.
D. Utilizing various pencil strokes and blending methods
Mastering various pencil strokes and blending methods is crucial for achieving realistic textures and smooth transitions in your gardenia drawings. Experiment with different types of pencil strokes, such as hatching, cross-hatching, or stippling, to create different effects and textures. Additionally, practice blending techniques, such as smudging or using blending stumps, to achieve seamless gradients and soft transitions. By utilizing a combination of pencil strokes and blending techniques, you can add depth and dimension to your gardenia drawings, making them appear more lifelike and visually appealing.
E. Troubleshooting common mistakes and challenges
Drawing gardenias can present certain challenges, but don’t let them discourage you. Common mistakes, such as proportion inaccuracies or uneven shading, can be addressed with patience and practice. Take the time to analyze your drawings and identify areas for improvement. Seek guidance from tutorials or fellow artists to overcome specific challenges you may encounter. Remember, every mistake is an opportunity to learn and grow as an artist. With determination and perseverance, you can overcome these obstacles and create stunning gardenia drawings that showcase your progress and artistic prowess.
Incorporating these tips and tricks into your artistic process will undoubtedly enhance your gardenia drawings. By using references, exploring different perspectives and styles, mastering pencil strokes and blending techniques, and troubleshooting common mistakes, you will refine your skills and create captivating artwork that truly captures the essence of gardenia flowers. So, let your creativity flourish and embark on an exciting journey of artistic exploration with gardenia drawings!
Conclusion
In conclusion, mastering the art of drawing gardenia flowers allows you to unlock a world of artistic beauty and creativity. The delicate elegance and captivating fragrance of gardenias make them a popular choice among artists. By learning how to draw gardenias, you can express your creativity, evoke emotions, and create stunning artwork that mesmerizes viewers.
Throughout this article, we have explored the steps and techniques involved in drawing gardenias. From gathering the necessary art supplies to sketching the basic outline and adding intricate details, we have covered the essential aspects of creating lifelike gardenia drawings. By incorporating shading, highlights, and texture, you can add depth and dimension to your artwork, making it truly captivating.
Furthermore, we have discussed valuable tips and tricks to enhance your gardenia drawings. By using reference images, experimenting with different perspectives, and incorporating your unique artistic style, you can develop your own signature approach to drawing gardenias. With practice and perseverance, you can refine your skills and create artwork that reflects your personal flair and artistic vision.
Remember, drawing gardenias is not just about replicating their beauty on paper; it is also about appreciating nature’s wonders and finding joy in the creative process. So, embrace the therapeutic nature of art and let your imagination flourish as you embark on your artistic journey. Whether you are a beginner or an experienced artist, drawing gardenias offers endless possibilities for self-expression and artistic growth.
Now, armed with the knowledge and techniques shared in this article, it’s time to pick up your pencils and let your creativity bloom. Immerse yourself in the delicate world of gardenia drawings, capture their essence, and create artwork that leaves a lasting impression. So, go ahead and let the beauty of gardenias inspire your artistic endeavors. Happy drawing!


