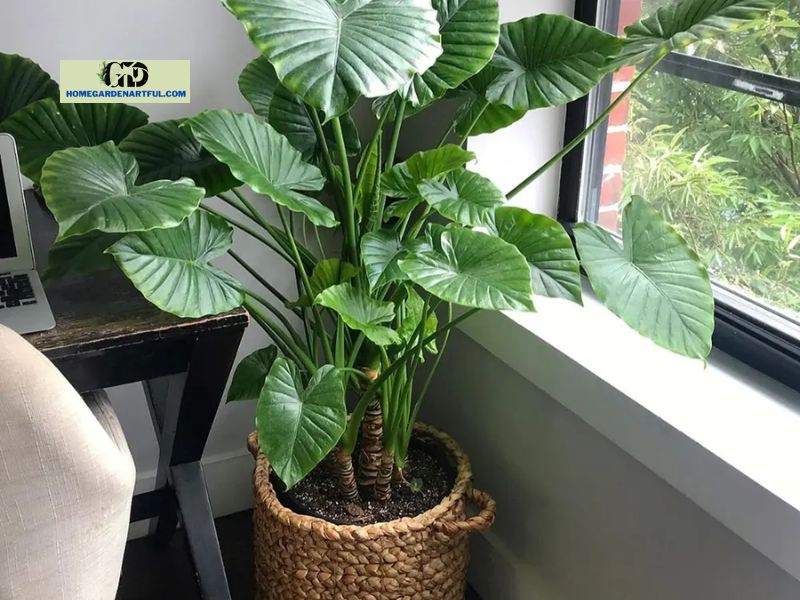
How To Propagate Elephant Ears? Elephant ears can grow to be quite enormous. In fact, some elephant ear leaves may get up to a foot long (but in the wild, they can grow up to 3 feet long!) If you have elephant ears in your yard, dividing and propagating them is an excellent way to keep them from becoming overcrowded.
When plants are congested in a confined place, such as a garden, they struggle to acquire the natural light and nutrients they require to thrive. Rather, your plants will just compete with one another to survive. And that can lead to disaster.
Because elephant ears take so much upkeep, you want to make the growing process as simple as possible. This is where propagation comes into play. Cutting off pieces of your elephant ears as well as growing them in a new spot to generate new, healthy, and thriving plants is the process of propagation.
Propagating any plant can be scary at first, but believe me when I say that if I can accomplish it, so can you. Below are seven simple techniques for propagating your elephant ears. Discover at homegardenartful.com!
How To Propagate Elephant Ears

Propagating an elephant ear plant is simple, but it does require a somewhat different strategy than other plants you may have previously propagated.
Remove The Plant
The first step in propagating your elephant ear plant is to remove it from its current position, whether in a pot or in your yard.
If you’re taking a plant from a pot, first ensure sure there aren’t any roots growing through the drainage holes. Otherwise, when you want to pick the plant up, you’ll merely end up hurting the roots.
This may necessitate either untangling the roots or, if the pot is plastic and can be cut, cutting the actual pot to pull it loose. Pulling up the plant without first examining the roots may harm it, so don’t skip this step.
Once the roots are free, shake the plant to remove any excess soil. The more soil you leave on the tubers, the more difficult it will be to identify them.
Clean Your Gardening Tools
Before dividing your plant, as shown in Step 3 below, you should first wash and correctly disinfect your pruning shears or knife, whatever you choose to use.
Disinfecting your instruments reduces the danger of disease transmission to the parent plant and the young tubers you intend to propagate. Alternatively, from the parent plant to your tubers. Root maggots, mealybugs, and aphids are common pests of elephant ears.
So, if you used your cutting shears on a plant with any of these infections, you are able to transfer them to your new plant if they weren’t cleaned beforehand. It is advised that you utilize bleach to kill any potential sickness.
Divide The Elephant Ear Plant

The elephant ear plant will be divided next. There are two approaches to this. To begin, identify tubers with a lot of roots and gently cut them off from the parent plant (also known as your main plant).
The main tuber should be visible here, with fewer tubers emerging from it. These will be used to reproduce your elephant ears.
However, you should only do this if your elephant ear plant is strong enough to resist the separating process. If your leaves are yellow, this might not be the greatest moment.
Plant the Tubers Again
After you’ve divided your tubers, it’s time to transplant them. There are a few things to keep in mind when doing so. As previously said, acquire a pot that is at least 18″ wide and deep to keep your pot from overflowing once the elephant leaves begin to grow.
This step is critical, especially given how hefty these leaves may get even while they are young. Along with a larger pot, you should purchase soil that is both well-draining as well as rich in organic matter. This is the ideal soil for growing elephant ears.
If you are unsure whether your soil is well-draining enough, you can add a small amount of coarse sand or rocks to it to guarantee that appropriate water can pass through.
After you’ve planted your new plant, return the parent plant to its original location, along with some new potting soil.
Choose the best location and water them

Congrats! You’ve successfully spread your elephant ears. I told you it was simple!
But now comes the care, which will be a breeze if you have already grown the mother plant. Once the tubers have been repotted, put the pot in a semi-sunny spot.
Elephant ears can thrive in both sunny and slightly gloomy conditions, so don’t be concerned if it doesn’t get a lot of sun. However, you must verify that they are growing in the proper temperature circumstances.
Elephant ear tubers grown indoors should be kept at 60 degrees F.
Using a well-draining pot, keep the soil moist
The one thing you should concentrate on is keeping your plant’s soil moist. For the first week or two, water your newly potted elephant ears every day. If the soil is dry, a small amount of water should be added.
Overwatering your new elephant ears should not be a problem if you use well-draining soil. Remember to water the soil around the plant, not the foliage. With careful care, you should be able to grow an elephant ear plant in a few months.
Plant Your New Elephant Ears from Propagation
This is the thrilling part! Planting your newly grown elephant ears. If you propagated numerous elephant ears at once, take care when planting them outside. Because these plants are large, you should separate your tubers at least 3 feet apart, if not more.
Conclusion
Overcrowding, as we briefly discussed in an earlier paragraph, can make it difficult for your elephant ear plants to survive. Grab a measuring tape and make sure you leave adequate space before planting them in your garden.
Once planted, proceed as you did with the parent plant. seem the soil on a daily basis, and if the top few inches seem dry to the touch, apply extra water.


