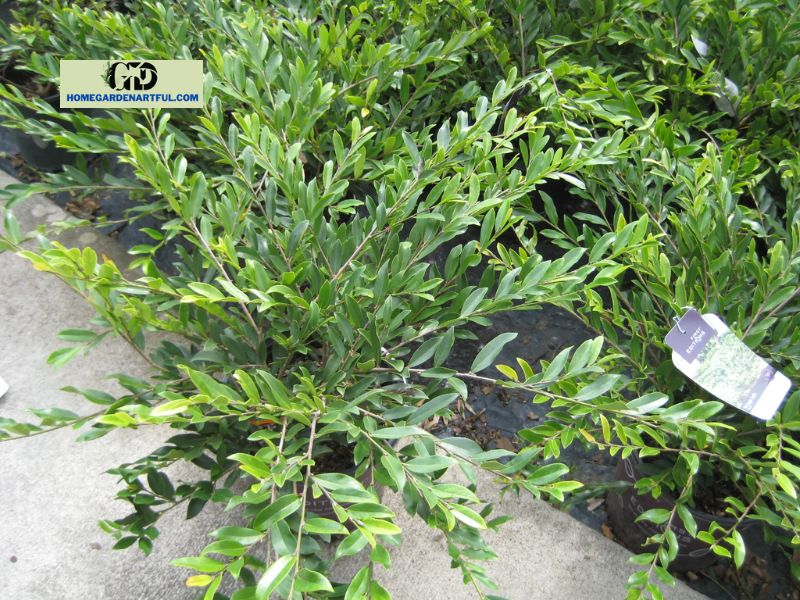
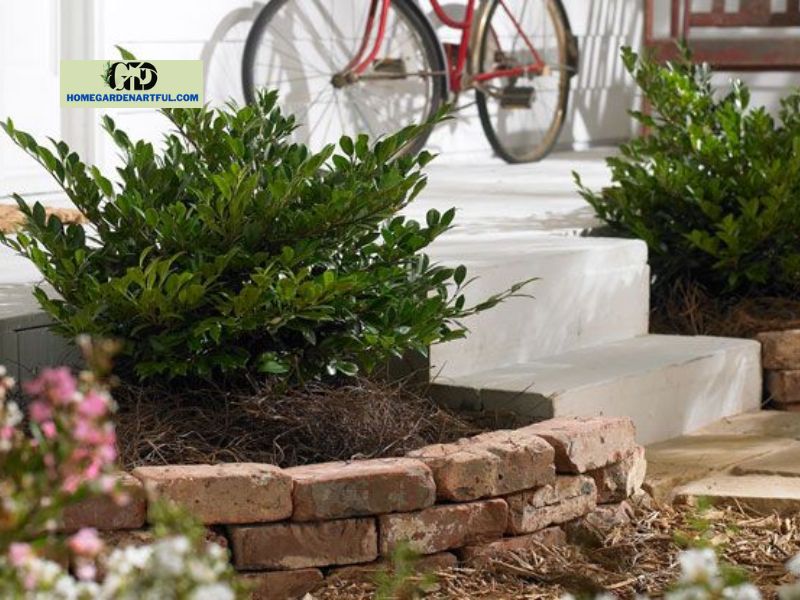
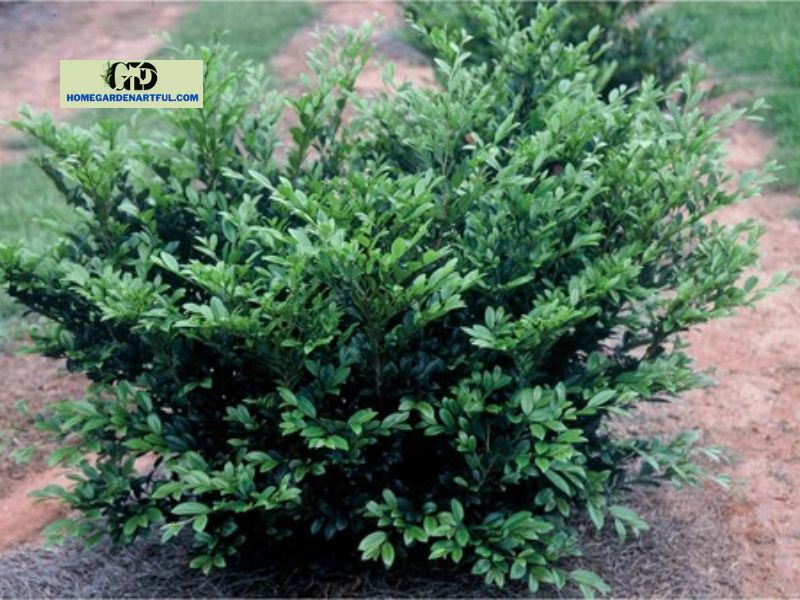
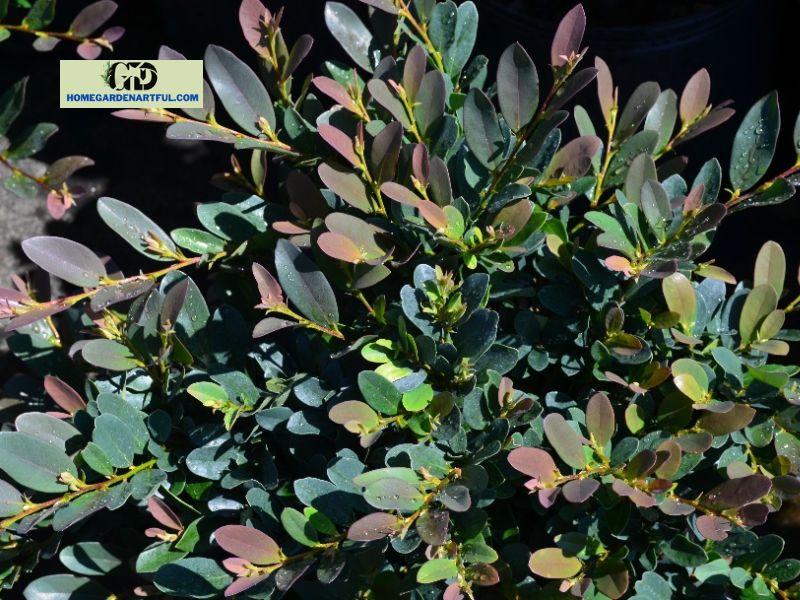
Everything we look for in a tough, evergreen, flowering shrub is present in Emerald Heights Distylium. They are very versatile, incredibly resilient, and quite simple to grow. Distylium comes in a wide range of shapes and sizes, from low, mounding spreaders to taller, upright producers. In-home foundation plantings, make excellent substitutes for boxwood, laurels, holly, and juniper. They are also excellent low-maintenance evergreen shrubs that can offer remarkable texture to any area of the landscape.
This is a summary of all the information you need to water, prune, fertilize, and plant Emerald Heights Distylium shrubs.
How Soil Drainage for Emerald Heights Distylium

It is worthwhile to make the effort to evaluate the drainage before planting if you are unsure about the soil drainage in the location where you wish to plant your Distylium. Dig a hole in the planting area that is 12″ wide by 12″ deep to test the drainage of the soil. Pour water into the hole and allow it to drain. Once it has drained, refill it with water and record the amount of time it takes to empty. The water level will drop in well-drained soil at a pace of roughly one inch each hour.
On a pH scale of 5.0 to 6.5, acidic to slightly acidic soil is ideal for brachylium growth. The pH range of the majority of typical garden soils is 6.0 to 7.0.
It is a good idea to test the pH of the soil in the planting location if you are unclear about the soil’s pH or if it is suited for growing Distylium. A cheap soil pH testing kit or probe can be used to quickly measure the pH of soil. You can amend the soil with pelletized limestone to increase the pH and make it more alkaline. Applying chelated iron, soil sulfur, or aluminum sulfate will drop the pH and increase acidity.
Increased acidity and the maintenance of acid soil conditions can also be achieved by applying organic compost to the soil or by utilizing compost as mulch.
Establishing Distylium in the Soil

For care and planting instructions in a container, scroll down.
Step 1
To begin, dig a planting hole that is at least twice as wide as the rootball of your plant, but not too much deeper. It is best if the hole is larger. Removing native soil from the planting hole should be placed on a tarp, in a wheelbarrow, or around the edge of the hole.
Step 2
It may be advantageous to amend the native soil in the planting area, depending on its kind, fertility, and porosity. In order to assist retain moisture and increase drainage in tight clay or other compacted soils, thoroughly mix in a good planting mix or bagged top soil at a 25 to 50 percent ratio with the soil removed from the planting hole. To help preserve moisture when planting in very sandy, quickly-draining soil, you might want to think about adding some topsoil, peat moss, or compost. There’s no need to add soil amendments when planting in well-drained, moist soil.
Step 3
When taking your Distylium plant out of the nursery pot it was growing in, use caution. Try to gently take the plant out of the pot. Cut the container away if the rootball is lodged in the pot to prevent harming the plant. Once the plant is out of the container, carefully pull some feeder roots from the surface of the root ball using your fingers or a claw tool.
When Planting In Mass or Staggered Rows

Finding the total square feet of a planting space will help you decide how many plants you’ll need to fill it, whether you’re planting Distylium in staggered rows or massed over a big area.
You can compute the number of plants required to fill the planting area once you have established the planting area’s square footage and the distance between each plant.
Organizing Plants
Before you begin planting, arrange every plant in the planting area. As an alternative, you can mark the location of each plant with marking paint. This is commonly required when planting on steep slopes, as containerized plants like to move around.
If there will be multiple rows of plants, start by laying out or labeling a single row that is straight. Starting near the planting bed’s edge is the greatest option. Be sure to place plants far enough apart from the border to allow for future spreading. For instance, plants should be placed at least 24 inches apart from the edge of the planting bed or other surfaced area to the center of the plant if the suggested spacing between them is 48 inches. Plants in the second row should be spaced apart after the first row is laid out, and so on, until the area is filled.
Step 4
Place your Distylium in the planting hole such that the top edge of the rootball is at or slightly above ground level if you are planting in well-drained soil. To get the right planting height, fill in the bottom of the hole with some backfill soil mixture, if needed.
Note: Choose a different plant species that is more tolerant of continuously wet soils, or improve drainage if the soil is poorly drained (constantly damp or wet). Plant with the top edge of the rootball several inches above ground in an elevated mound.
Step 5
With one hand holding the plant straight after placing the rootball of your Distylium in the planting hole, use the other hand to start back-filling the soil mixture around the root ball, tamping as you go to get rid of air pockets. You can moisten the dirt when you have filled the hole halfway. After that, keep backfilling until the root ball’s upper edge. When planting above ground, gradually taper your soil mixture from the root ball’s upper edge to the earth. Keep dirt off of the root ball of your plant to prevent suffocation.
Step 7
Subsequently, irrigate the planting area well, ensuring that the water level matches the height of the root ball. You can also use a Root Stimulator solution to water your newly planted Distylium to encourage greater root development and early root formation. This will lessen transplant shock and encourage greener, more vigorous plants.
Step 8
Apply a 1- to 2-inch layer of wood mulch (shredded or chipped) or a 3–4-inch layer of pine straw around the planting area to retain moisture and inhibit weed growth. Your plants will benefit from the mulch’s addition of essential nutrients to the soil as it breaks down. Wait until the freshly chopped or shredded wood has dried in a pile for at least six months—a year is preferable—before using it as mulch. Mulch shouldn’t be piled up or placed right up against your plant’s base as this could cause the bark to decay.
How To Prune Emerald Heights Distylium Plants
Distylium doesn’t need to be pruned for health or performance unless a stray branch is ruining the plant’s form or there are dead or broken plant parts to remove. Nevertheless, they react favorably to shape pruning.
Before new growth emerges, in late winter or early spring, Distyilium should undergo any major pruning for shaping or size management. Any time of year is a good time to selectively prune stray branches to keep the plants neat. Branches that are dead or broken should be cut off as soon as they appear, either at the site of origin or somewhat beyond, using sharp hand pruners.


